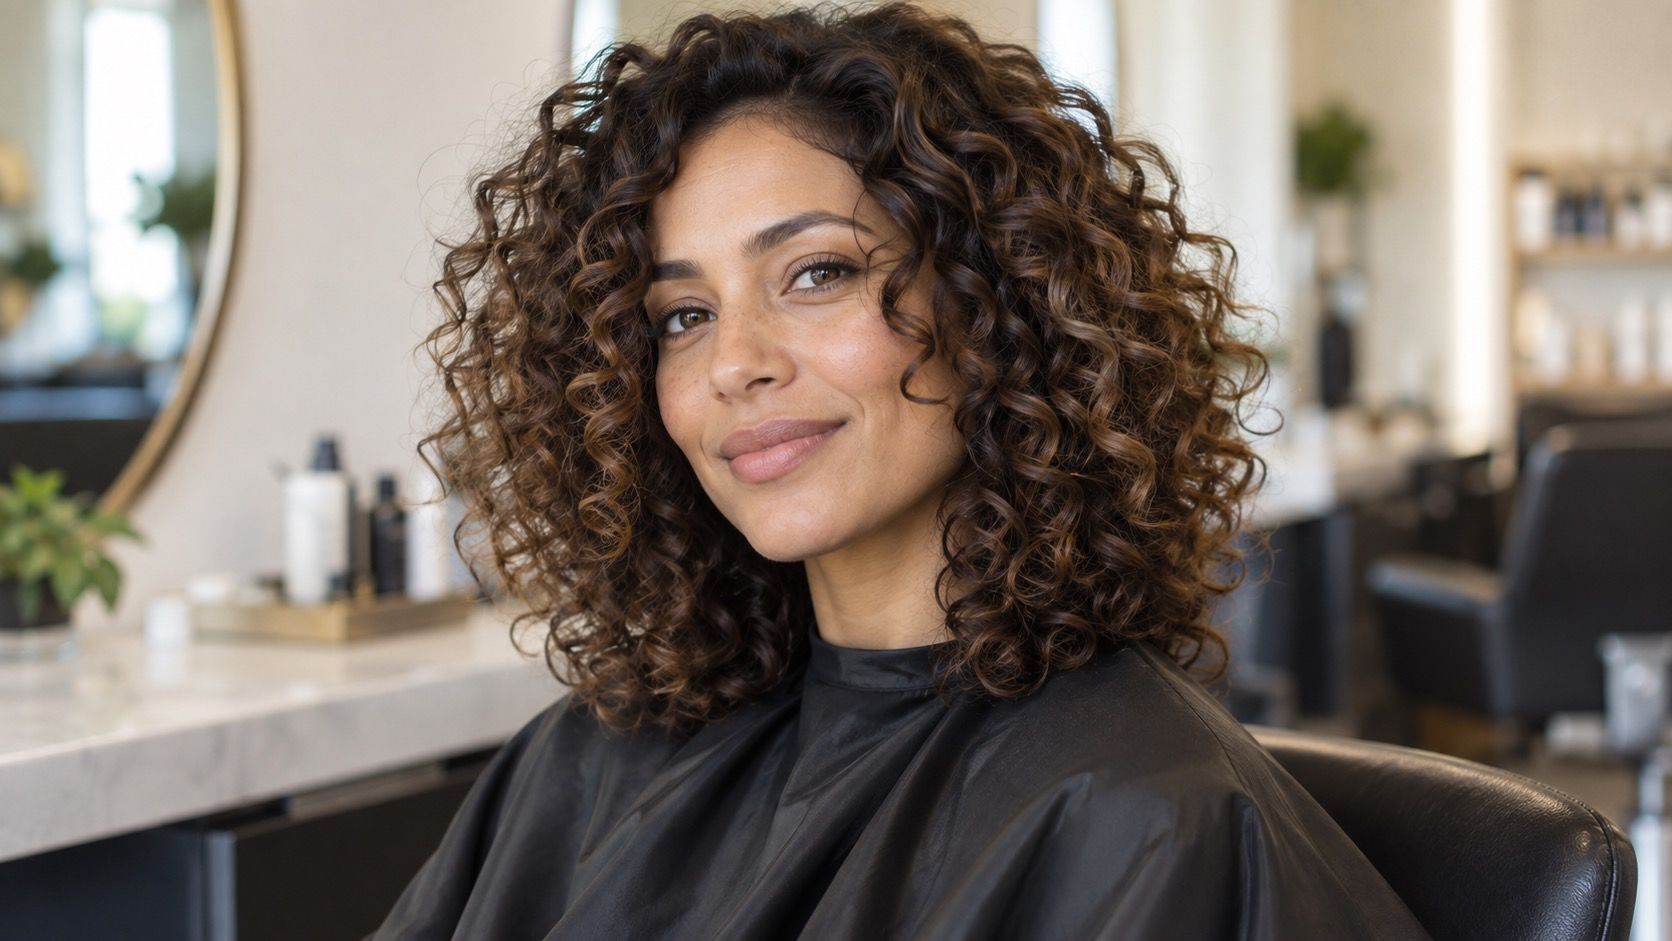
A curly haircut is a negotiation with movement, not a line drawn on wet hair. That is why a curly hair simulator can be useful and misleading at the same time: it may help you notice a shape you want, but it cannot know where your own curls will spring, separate, or gather after wash day. Start by previewing silhouette before length. The better question is not “How short can I go?” but “Where do I want the volume and what happens when my curls return to themselves?”
Why straight-hair previews can send you in the wrong direction
Many virtual styles are built from smooth hair shapes, even when the label says curly. They tend to show a clean end line and evenly distributed fullness. Real curls make decisions in clumps: one side may lift more, the crown may sit flatter, and the perimeter can look shorter on a humid day. If you use a preview, choose an image of your hair in its ordinary textured state, not after it has been stretched or blown out.
Look for the broad outline rather than copying each ringlet. Does the simulated shape widen at the cheeks, lift at the crown, or taper toward the neckline? That information survives the filter better than an exact curl pattern. Save a second reference with hair similar to your density. A loose wave, a springy coil, and a tight zigzag can all be called curly hair, but they do not answer to layers or fringe in the same way.
Put shrinkage into the preview before you talk about inches
Shrinkage is not a defect to defeat; it is simply the distance between stretched length and the length your hair chooses when dry. A cut that appears to land at the jaw in a straightened reference may sit above it on your curls. In a preview, mark your current dry perimeter first, then compare the desired shape against that. If you are unsure, err on the longer visual option for a first major change.
Take photos of your hair wet, partly dry, and fully dry after your normal routine. The three images show a specialist more than a single polished selfie can. They reveal where the curl clumps form and how much the front retracts. When someone says they want “just two inches off,” the important follow-up is whether they mean two inches of stretched hair or the final dry appearance. Those are different requests with different consequences.
| Preview detail | What to check | Why it matters |
|---|---|---|
| Dry perimeter | Where curls sit after full shrinkage | It is closer to everyday length |
| Crown volume | Whether the top looks flat or too rounded | Layers change this quickly |
| Front pieces | How they land around brows and cheeks | They retract differently from the back |
Choose layers according to density, not a curl-type chart
Curly layers can create a rounded, lively profile, but “more layers” is not a universal answer. Dense hair often has enough internal volume already; aggressive short layers can make it expand into a shape you did not preview. Finer curls may benefit from carefully placed lift at the crown, while long layers can preserve weight at the bottom. The decision begins with where the hair feels bulky or limp, not with a number assigned to a curl pattern.
Study your hair from the side and back. Is the widest point at the ears, the crown, or the lower lengths? A preview is useful when it lets you move that widest point deliberately. A rounded curly shag can be appealing when you want height and texture; it may be frustrating if you prefer a lower-maintenance, elongated outline. Ask the stylist what will be removed from the inside and what will remain at the perimeter. That makes “layers” a concrete plan instead of a hopeful word.
Try a curly fringe with your real forehead and routine
Curly bangs can look light and expressive, especially when they connect to face-framing layers. They also live in the most changeable part of the head: sweat, weather, sleep, and a cowlick all show up there first. In a curly hairstyles try on image, compare a longer, eyebrow-adjacent fringe with a shorter one, then remember that the curl at the centre may contract differently from the curls at the temples.
Do a simple home test by pinning a small front section upward and inward, leaving it textured instead of stretching it. The result will be rough, but it tells you whether you enjoy hair near your eyes and brows. Consider glasses and your workout routine as well. A curly fringe that looks perfect in a studio photo can need a morning mist, finger reshaping, or a diffuser reset. That is a valid choice, just one worth choosing with open eyes.
Bring the right evidence to a curl specialist
A useful appointment starts before the cape goes on. Arrive with hair worn as you normally wear it unless the salon asks otherwise, and bring images from several days, not only your best curl day. Include one front image, one profile, and a back view. Point out sections that shrink much more, areas that lose definition, and any spots you always pin back. This is more valuable than presenting a single celebrity photo as an instruction.
Ask whether the stylist plans to assess the shape dry, wet, or both, and how they will account for the separate curl zones around your head. Dry cutting can make it easier to see the immediate silhouette, but it is not a magic label; the result still depends on observation and a clear home routine. Explain how you diffuse, air-dry, or refresh. A cut should support that reality instead of requiring a completely new ritual you never intended to adopt.
Judge the preview by the days after the salon
The best curly haircut ideas hold up after the first wash, not only beneath salon lighting. Before committing, picture a damp commute, a second-day refresh, and the time you need to tie everything back. Can the crown be revived without soaking the whole head? Will shorter layers escape a bun in a way you like? Does the shape still feel balanced when one side is a little less defined? Those questions are where a simulated image becomes a practical decision.
Start conservatively if you are changing both length and shape. Keep a little more perimeter, then return after you have lived with the new layers through your own weather and products. Take a photo in the same place on wash day and several days later. You will learn more from that honest comparison than from an algorithmic promise. A good preview gives you language for the chair; your curls supply the final edit.