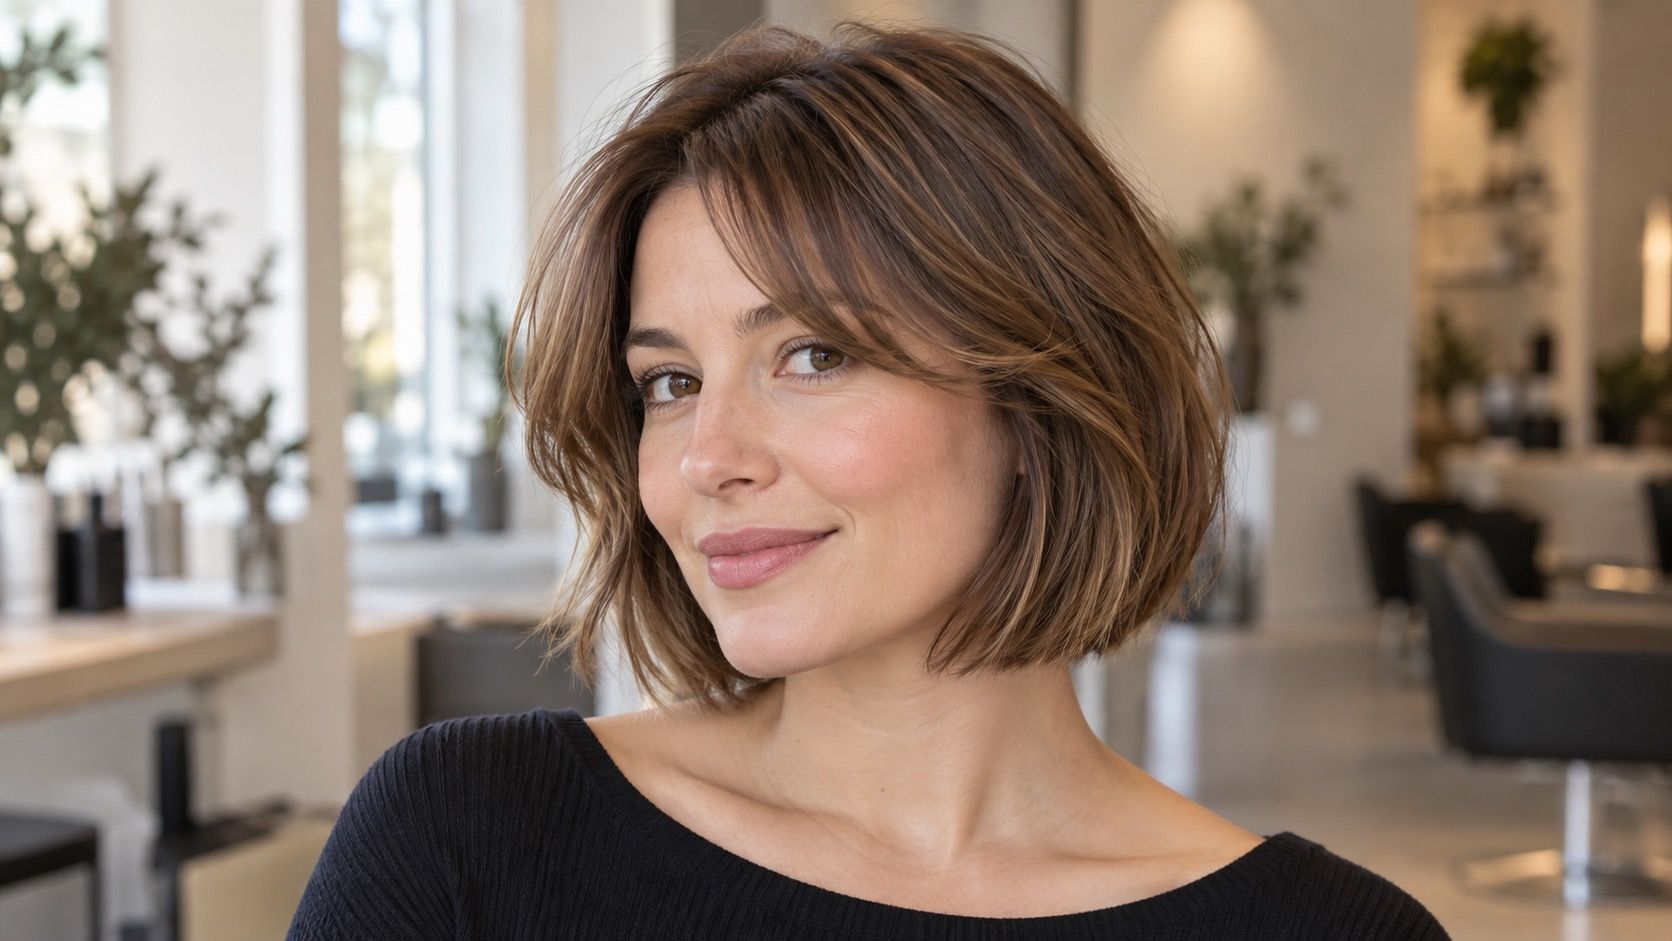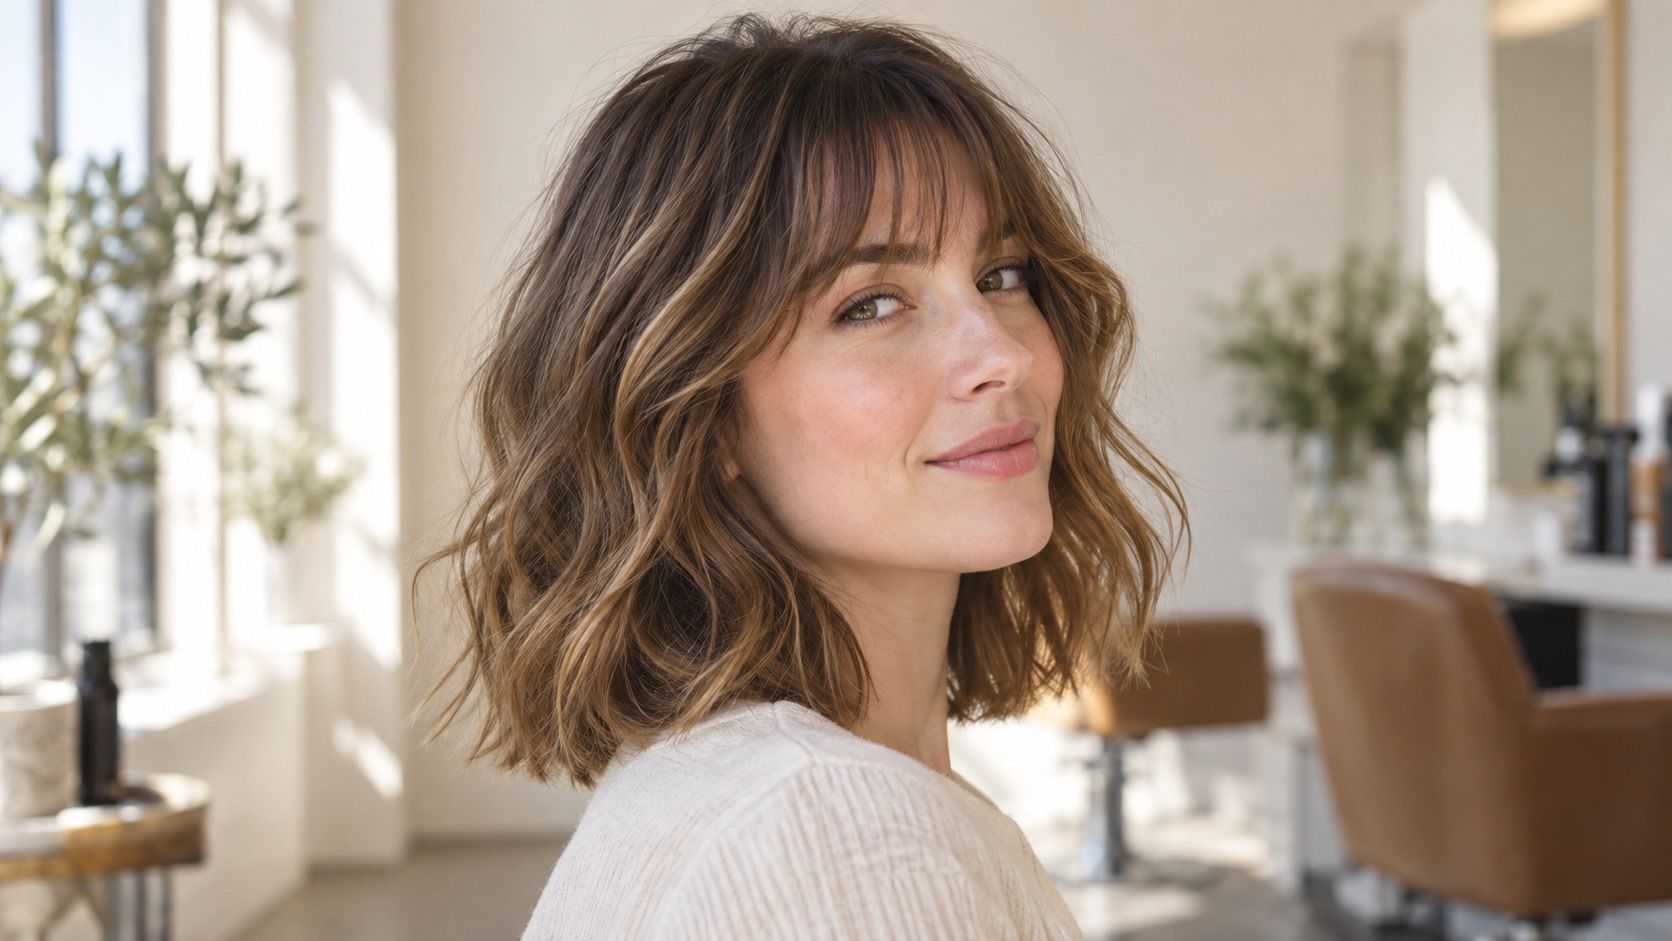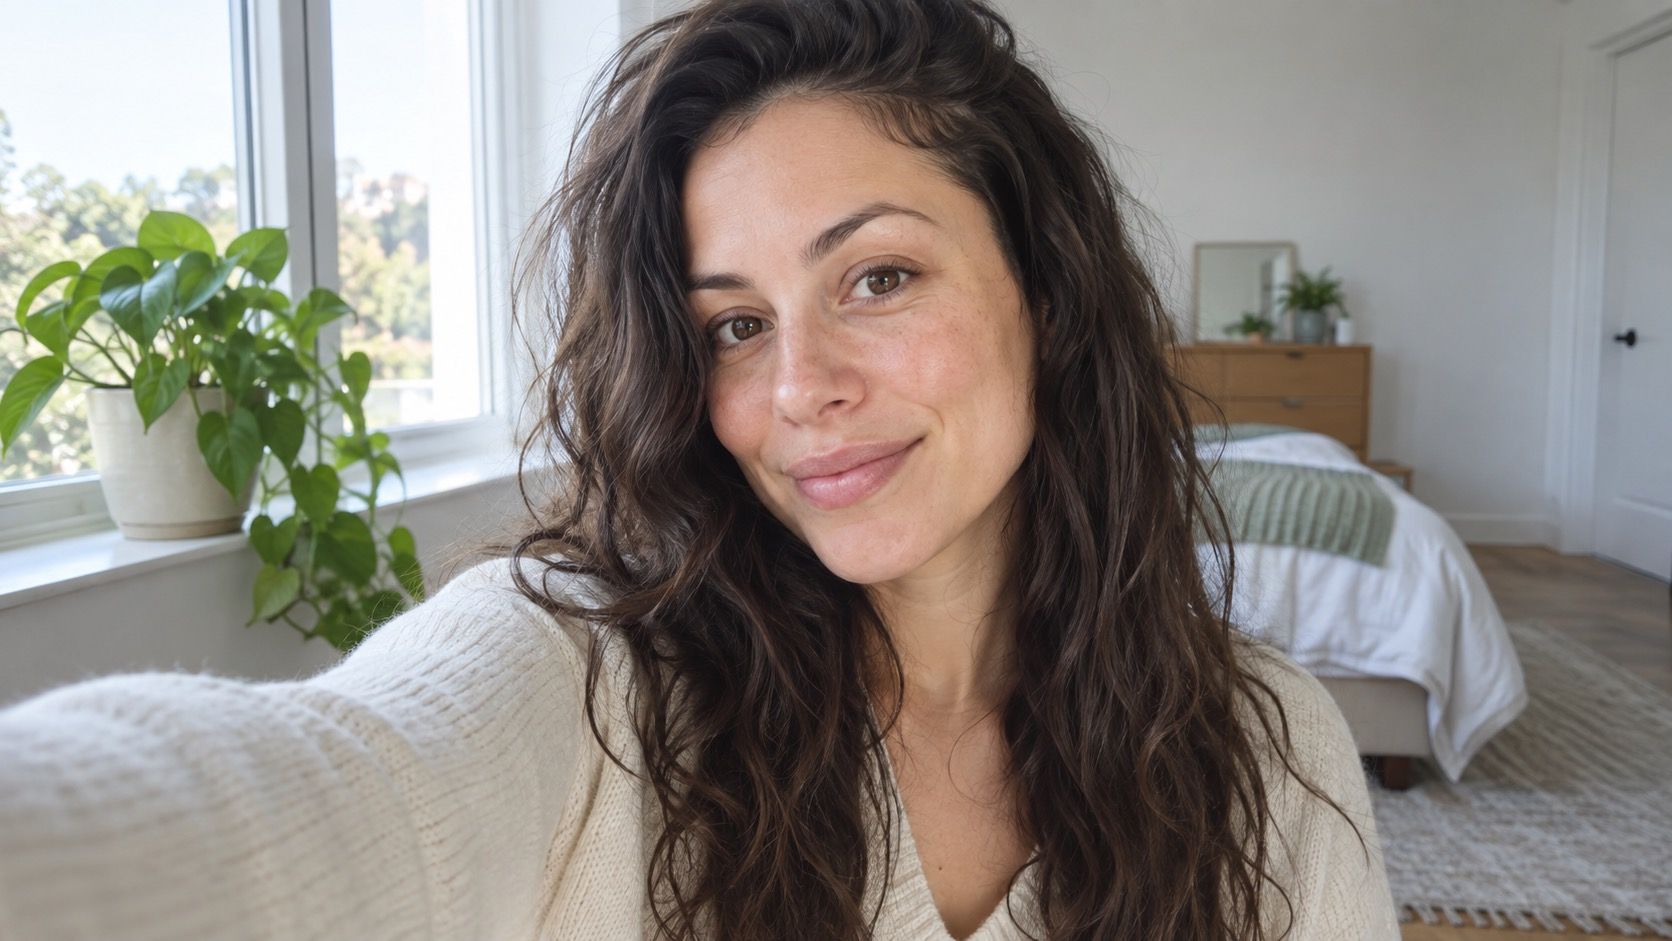
A hairstyle try on photo does not need to be beautiful; it needs to be honest. The image is a starting surface for placing a fringe, a shorter line or new face-framing pieces. If the hairline is hidden, the camera is under the chin, or the lighting erases one side of the face, even a clever hairstyle filter has to guess. A plain selfie taken with a few deliberate choices gives you a better comparison and saves you from falling in love with a preview that only works because the original photograph was doing half the flattering.
Choose clarity over a dramatic selfie
The best selfie for a hairstyle filter is usually taken straight on, with the camera held roughly at eye height and the whole face in frame. Stand a short distance from a window during daylight, then turn until the light reaches both sides without a hard stripe across the nose. The goal is not a studio portrait. It is a clear view of the forehead, temples, jaw and the way your hair currently sits around them.
A favourite restaurant photo or a close crop from a holiday often has a tilted head, a strong shadow and hair pushed behind one ear. It may be a lovely picture, but it is a poor basis for a haircut preview. Keep the phone level and leave a little space above the head and around the shoulders. Filters use those edges to understand where hair begins and ends. A neutral wall or uncluttered room makes their job easier than a busy bookshelf or a dark doorway behind you.
Put light and camera height in the right place
Window light is forgiving because it reveals the hairline without creating a heavy shadow under the chin. Avoid standing directly under a ceiling bulb; it tends to brighten the scalp, darken the eyes and make the digital hair look pasted on. If the only available light comes from one side, take a step until the face is more evenly lit rather than trying to fix it with a beauty filter.
Camera height matters as much as light. A phone held too low enlarges the lower face and changes where a virtual bob appears to land. Held too high, it shortens the visible neck and can make long hair look smaller than it is. Eye height is the calm middle ground. Take two shots a few seconds apart and choose the one where your head is upright, shoulders relaxed and eyes looking into the lens rather than down at the screen.
| Photo setup | Why it helps | Watch out for |
|---|---|---|
| Even daylight near a window | Shows hairline and natural texture | Direct sun can create hard shadows |
| Eye-height front camera | Keeps length and fringe placement legible | Very close distance can distort features |
| Plain background | Separates hair from the scene | Dark hair against a dark wall loses edges |
Keep your present hair visible enough to be useful
Do not slick every strand back unless the tool specifically asks for it. Your current hair tells a preview where your part lies, how much volume sits at the crown, and where the sides naturally spread. Brush it into the way you normally wear it, then make sure the front pieces do not cover the entire forehead. If you are testing bangs, the hairline is particularly important; the filter needs somewhere believable to begin them.
For a haircut preview photo, clean hair is helpful but perfection is not required. A normal wash-day image may be more informative than freshly salon-styled hair because it shows the texture you live with. If you have waves, let them be visible. If one side tucks behind your ear by habit, take a second photo with both sides down as a comparison. The goal is to give yourself options without quietly changing your usual hair before the virtual change has even begun.
Decide what to do with glasses, makeup and face-framing pieces
Keep glasses on for at least one photo if you wear them through most of the week. A fringe that looks open without frames may land awkwardly against them, and face-framing layers can sit differently once the temples are occupied. You can also take a glasses-off version if the tool struggles to recognise the edge of the face. Compare the two later rather than assuming one is the definitive image.
Use your normal makeup, or none at all; either choice is fine as long as it resembles your daily face. Heavy contouring, false lashes and a dramatic lip can make it harder to see why a preview feels different. The same applies to face-framing pieces. Do not pull them away just because a short cut is being tested. A bob, shag or fringe has to coexist with the habits you will still have next week, including the way you tuck hair, wear a headset or push strands behind glasses.
Make two comparable previews instead of chasing a perfect one
Once you have a useful starting image, keep the conditions steady. Test a bob and a long layered cut on the same selfie, with the same colour and similar texture. If one preview uses a smooth finish and the other invents beachy waves, it will be difficult to tell whether you prefer the cut or the styling. Save the version names in plain language: “collarbone lob, side part” is much more useful later than “pretty one.”
Then take a second image from a slight three-quarter angle. It can reveal whether a simulated fringe follows the side of the face sensibly and whether a shorter cut floats too far from the neck. Do not expect perfect agreement between the front and side views. The point is to notice large inconsistencies. When a filter gives a heavy jaw-length bob in one image and a feather-light crop in another, the software is showing its limits, not offering two reliable promises.
Read the final image as a discussion tool
A clear photo can make a virtual try-on genuinely useful, but it cannot see how your hair shrinks when dry, where a cowlick lives or how often you want to style. Keep your best two previews and write down the feature you liked in each: more open forehead, a softer line at the cheek, less weight at the ends. That is the information worth bringing to a salon appointment.
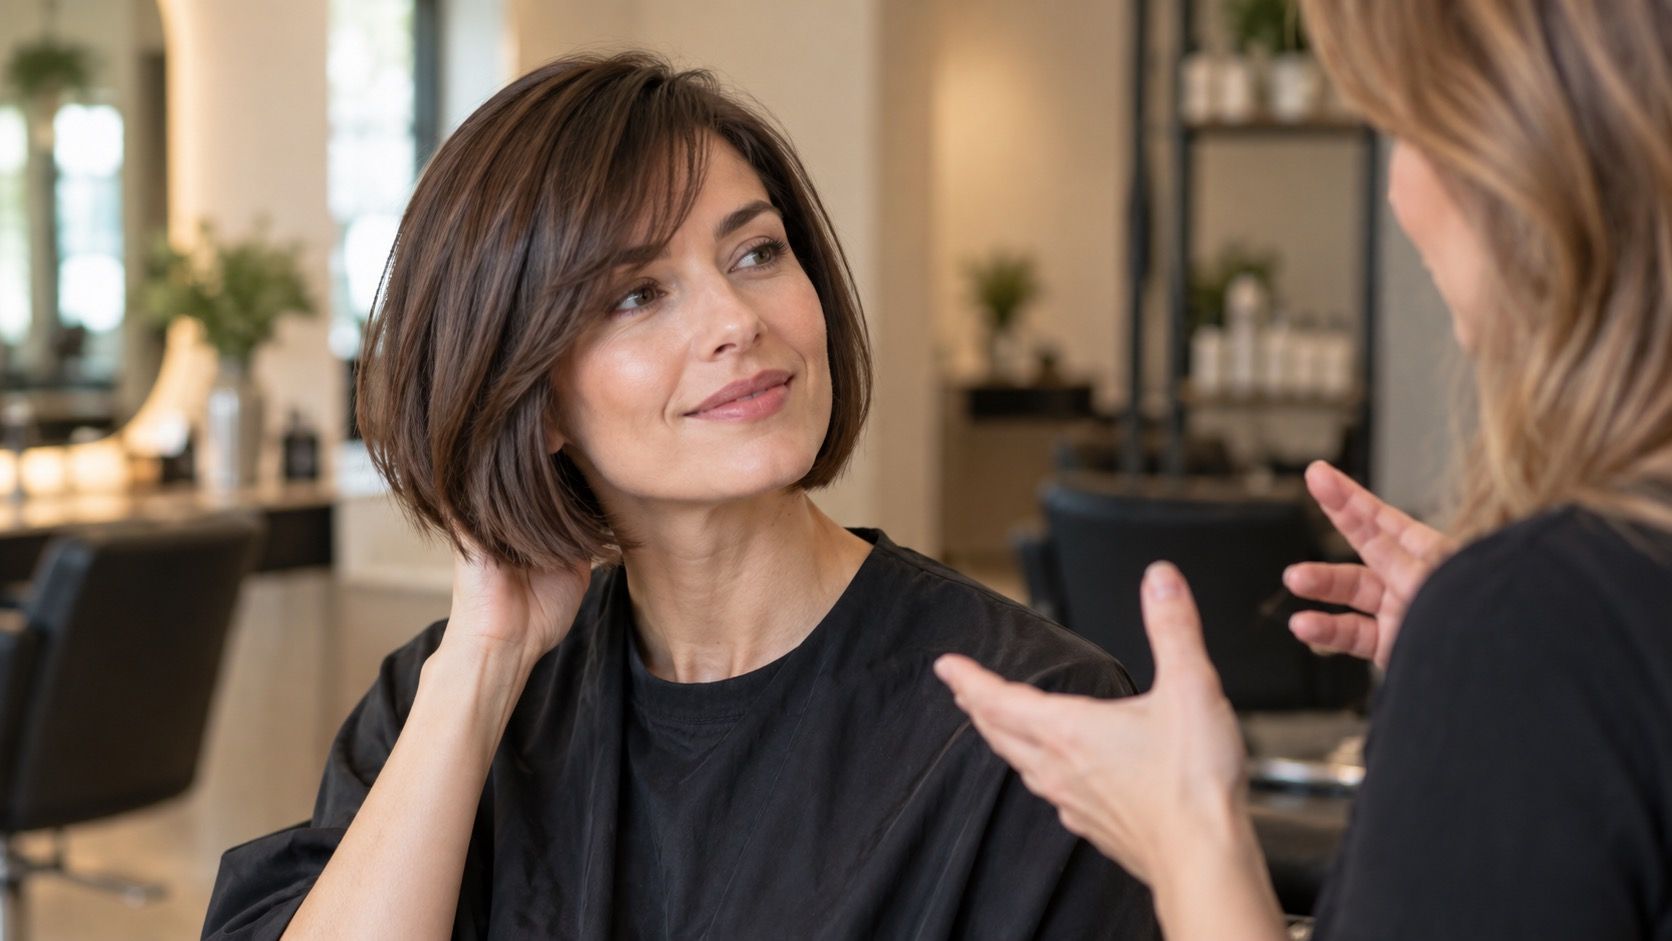
Show the stylist both the preview and a normal photo of your current hair. Explain which image was made with your everyday part and whether you wore glasses. Ask how the suggested length or fringe would behave with your texture. The most successful hairstyle try on photo is not the one that makes an impossible cut look real. It is the one that helps you arrive with a clear question, realistic expectations and enough evidence to choose a change you will enjoy beyond the screen.